
How to Fix Connection Issues with 192.168.0.2
If you’ve ever experienced trouble connecting to a device through 192.168.0.2, you’re not alone. Whether it’s a router, printer, IP camera, or other networked device, the IP address 192.168.0.2 often serves as a gateway for local configuration. However, sometimes accessing or establishing a connection through it may present problems. Fortunately, most common connection issues can be resolved with a systematic, easy-to-follow approach.
Understanding 192.168.0.2
First, it’s important to know what 192.168.0.2 actually is. This IP address is part of the private IP address range reserved for internal networks. Devices on a local home or small business network can use these IPs without conflicting with public internet addresses. Typically:
- 192.168.0.1 is often the default gateway or router IP
- 192.168.0.2 may be manually or automatically assigned to other devices on the network, such as printers or repeaters
Accessing this IP through a browser should pull up a device’s admin interface — unless something is wrong.
Common Reasons You Can’t Connect to 192.168.0.2
There are several possible causes that can prevent you from connecting to a device assigned to 192.168.0.2. Recognizing the root of the problem is necessary before you can fix it. Some common causes include:
- Device is turned off or not connected to the network
- Incorrect IP configuration on your computer
- IP conflicts with another device
- Faulty or damaged Ethernet cables or unstable Wi-Fi
- Firewall or antivirus rules blocking connection
Let’s go step-by-step through practical solutions to resolve these issues.
Step 1: Verify the Device Status
Is the device assigned to 192.168.0.2 turned on? Sounds simple, but it’s the most overlooked step. Ensure that the device is:
- Powered on
- Physically connected using Ethernet or, if applicable, connected to Wi-Fi
- Displaying normal status indicators (no red or flashing lights)
If you’re dealing with a router or access point as the target device, check other devices connected to the same network to confirm overall connectivity.
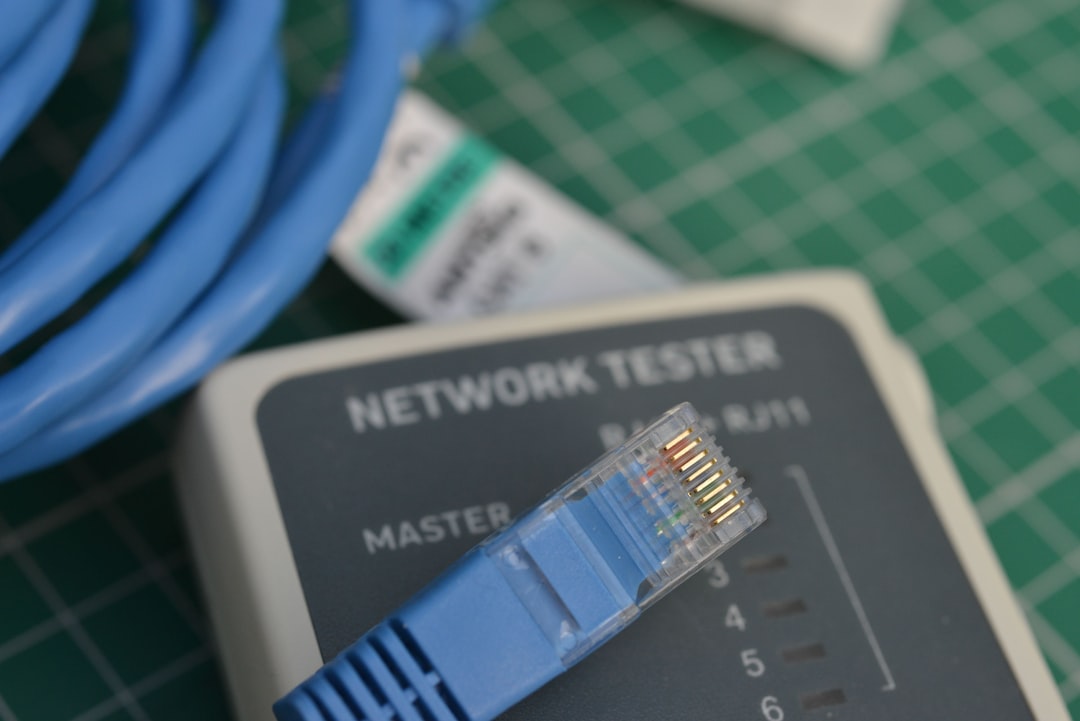
Step 2: Ping the IP Address
This is a great way to check if the device at 192.168.0.2 is reachable.
- Open Command Prompt (Windows) or Terminal (Mac/Linux)
- Type:
ping 192.168.0.2 - Press Enter
If the response shows “Request timed out” or “Destination host unreachable”, the device isn’t visible to the network — and you’ll need to dig deeper.
Step 3: Check Your IP Configuration
Your own device must be on the same subnet as 192.168.0.2 to access it. To verify:
- Go to your network settings
- Check that your IP address is something like 192.168.0.x (where x is a number between 1 and 254, excluding 2)
- Subnet mask should usually be 255.255.255.0
If you’re on a different network segment, you may not be able to connect until you adjust your IP settings. You can try setting a static IP manually:
- Navigate to the adapter settings in your OS
- Select manual or static IP assignment
- Set your IP to something like 192.168.0.10, subnet mask to 255.255.255.0, and leave the gateway blank or set to 192.168.0.1
Step 4: Eliminate IP Conflicts
If more than one device has been accidentally assigned 192.168.0.2, it results in an IP conflict, causing both to malfunction. To identify and resolve this:
- Disconnect all other devices on the network temporarily
- Reconnect only the problem device and the computer
- Try accessing 192.168.0.2 again via browser
If it works now, one of the other devices on the network had a conflicting IP. Re-enable DHCP or manually assign a unique IP to each device to prevent recurring issues.
Step 5: Reset the Device to Default Settings
If you’re still unable to access the interface at 192.168.0.2, it might help to reset the device completely. Most routers or networked hardware have a reset button. Here’s how you can typically reset it:
- Look for a small pinhole reset button on the device
- Use a paperclip to press and hold the button for 10-30 seconds
- Wait for the device to reboot
Once reset, the device should revert to factory settings — and possibly default back to 192.168.0.2 or another set IP provided by the manufacturer.
Step 6: Check Browser and Firewall Settings
Sometimes, the issue lies not with the device itself, but with software on the computer. Try the following:
- Clear your browser cache or try a different browser
- Disable antivirus or firewall software temporarily
- Ensure that browser does not require a proxy or VPN
Some firewall configurations may block local IPs, especially corporate-owned systems with strict security rules. Disable them briefly to test access, then re-enable with exceptions as needed.
Step 7: Use Network Scanning Tools
If you suspect that the IP might have changed from 192.168.0.2, or you’re unsure what IP a device currently holds, use network scanning tools like:
- Advanced IP Scanner (Windows)
- Angry IP Scanner (multi-platform)
- Fing (mobile app)
These tools scan your network and identify all connected devices along with their IP and MAC addresses. Once you find the correct IP, try accessing it via browser once more.
When All Else Fails…
If you still can’t connect to 192.168.0.2, consult the device’s manual or manufacturer website. There you’ll find:
- Default IP addresses
- Login credentials
- Reset instructions
- Firmware update guides
Some manufacturers also provide configuration software that can detect devices even when manual IP connection fails.
Proactive Tips to Avoid Future Issues
Connection issues can often be prevented with some proactive steps:
- Reserve IP addresses in your router’s DHCP settings to avoid IP conflicts
- Label devices with assigned IPs for easy identification
- Keep firmware and drivers up to date
- Create network documentation if managing multiple devices
In dynamic environments, relying on DHCP may eventually reassign the IP you expect to access. Assign permanent IPs to critical devices whenever possible.
Conclusion
Fixing connection problems with 192.168.0.2 may seem daunting, but as we’ve explored, most issues are rooted in something simple: misconfigurations, conflicts, or accessibility problems. By methodically addressing each potential cause, you’ll soon regain access to your device — and hopefully avoid future network headaches.
Whether managing a home network or configuring enterprise hardware, understanding local IPs is a vital skill. So, the next time 192.168.0.2 gives you trouble, you’ll know exactly what to do — and why.