How to 3D Print an AirPods Pro 2 Case Lid: Step-by-Step Guide
Whether your AirPods Pro 2 case lid is broken or you simply want a customized version, 3D printing your own can be both a fun and rewarding project. This guide will walk you through the entire process of designing, printing, and fitting a replacement lid that perfectly fits your AirPods Pro 2 charging case.
What You’ll Need
- 3D printer (FDM or resin will work, but each has trade-offs)
- 3D modeling software (like Fusion 360, TinkerCAD, or Blender)
- Filament or resin (PLA, PETG, or ABS recommended for durability)
- Digital caliper (for accurate measurements)
- Sandpaper or small files (for post-processing)
- Super glue or small hinges (if adding a functional hinge mechanism)
Step 1: Measure Your Original Case Lid
Use a digital caliper to carefully measure each dimension of the original AirPods Pro 2 case lid. Take note of the width, height, thickness, and curvature. This will help you design a replacement that is both precise and functional. It’s important to also measure the connection point where the lid attaches to the base of the case—this is crucial for a good fit.
Step 2: Design the Lid in a 3D Modeling Software
Open your preferred 3D design program and start by sketching out your basic shape. Begin with a rectangular block and then use the curvature tools to match the rounded edges of the original lid. You’ll want to refer back to your measurements regularly. If you’re not confident starting from scratch, check online platforms like Thingiverse or MyMiniFactory—you might find a premade design you can tweak to suit your needs.
Consider adding unique decorative elements like initials or a pattern to give it a personal touch. If designing your own hinge, make sure to include clearance between the lid and the case base so it can open and close smoothly.
Step 3: Prepare the Print File
Once your design is complete, export it as an STL file. Load it into a slicer program like Cura or PrusaSlicer and make adjustments for best printing performance. For finer detail, choose a layer height between 0.1-0.2 mm. Also, ensure the orientation minimizes support requirements—usually, printing the lid upside down gives the smoothest outer finish.
Set infill between 20–30%—you’ll want the lid to be durable, but not overly heavy. Choose a slower print speed if your model has intricate designs to increase print quality. Then save the file to your printer’s storage medium.
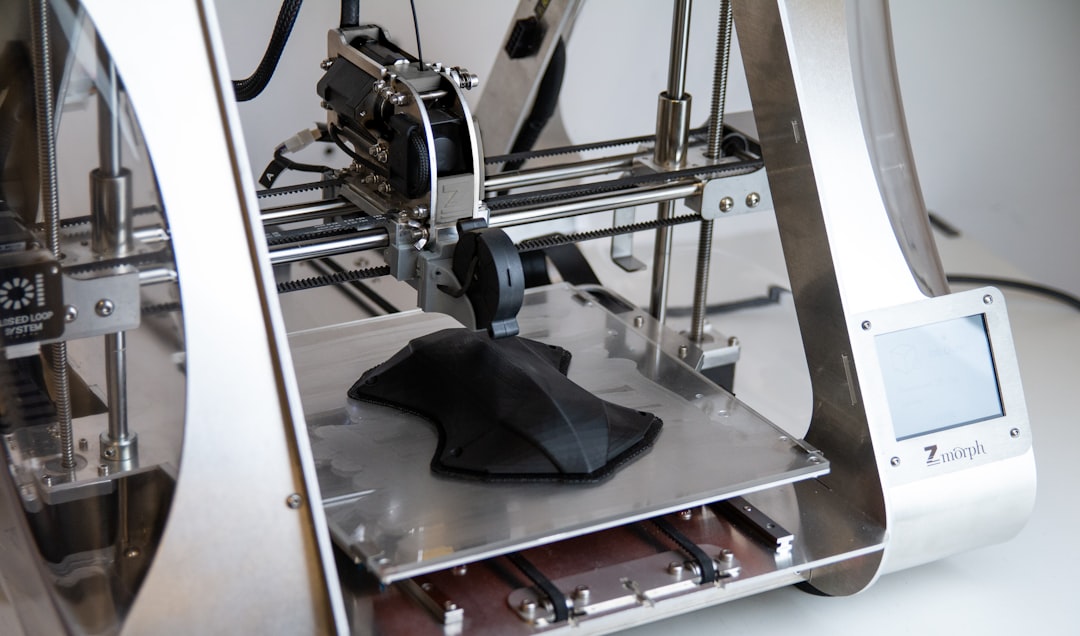
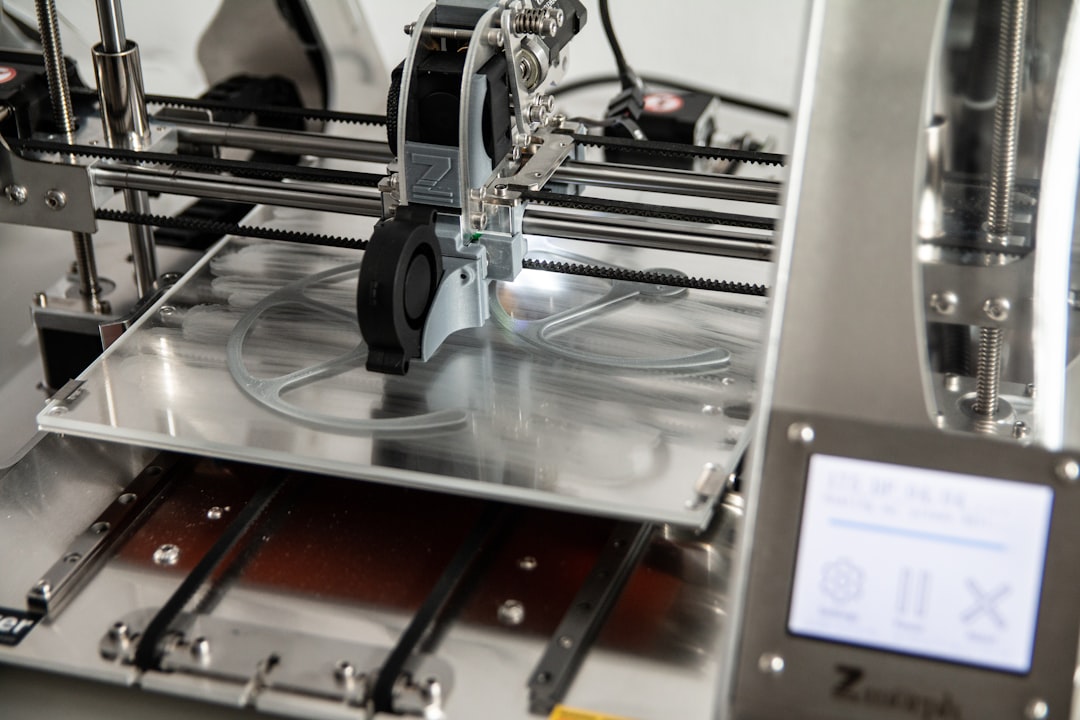
Step 4: Print the Lid
Start your 3D printer and begin printing the lid. Depending on the size and level of detail, the job may take anywhere from 1 to 3 hours. Monitor the print for any issues such as layer shifting or warping. If you’re using PLA, ensure your bed is heated to around 60°C and extruder temperature is approximately 200°C.
Step 5: Post-Processing
Once the lid is printed, give it time to cool before removing it from the print bed. Then inspect it for any excess material or minor imperfections. Use sandpaper or small files to clean up areas that require a tighter fit or smoother appearance. If your design included supports, remove them carefully to avoid damaging thin parts.
Step 6: Assembly and Fit Check
Now it’s time to test the lid. Fit it onto your AirPods Pro 2 case and see if the hinge works as expected. If you’ve designed a snap-fit lid, it should press fit cleanly and hold securely. If you’re using a separate hinge, you may need to attach it with super glue or small screws, depending on your design. Be cautious with gluing—too much adhesive can interfere with the case function or aesthetics.
Tips for a Better Print
- Print a test model with lower quality settings to check fit before committing to a high-quality print.
- Use a flexible filament like TPU if you want a lid that can absorb minor shocks without breaking.
- Add a small magnet or clasp to keep the lid securely shut, mimicking the original product feel.
Final Thoughts
Creating a 3D printed AirPods Pro 2 case lid is an exciting project that combines precision engineering with creative expression. With the right tools and attention to detail, you can produce a fully functional replacement or customized backup lid that enhances the utility and style of your AirPods. Plus, it’s a great introduction to CAD modeling and 3D printing for newcomers.
Whether you’re replacing a broken part or simply want a fun weekend project, a 3D printed lid is a tiny object with big satisfaction.