
Lighthouse Photography Tips: 20 Techniques for Capturing Stunning Coastal Images
Lighthouses are irresistible subjects: they combine architecture, weather, history, ocean drama, and a strong sense of place. Whether you are photographing a lonely beacon at sunrise or a storm-battered tower under dark clouds, the goal is to turn a scenic view into a coastal image with mood, structure, and story.
TLDR: Great lighthouse photography depends on planning, light, composition, and respect for coastal conditions. Arrive early, check tide and weather data, use foreground elements, and experiment with long exposures for dramatic water movement. For example, a photographer who visits the same lighthouse at 6:00 a.m., 12:00 p.m., and sunset may produce three completely different images from one location. A simple workflow of scouting, shooting during golden hour, and refining composition can improve your keeper rate by 30% or more.
1. Research the Lighthouse Before You Go
Every lighthouse has its own personality. Look up its history, access rules, sunrise and sunset direction, parking options, and whether the surrounding coast is rocky, sandy, or fenced. Use maps and satellite views to identify possible angles before you arrive. This saves time and helps you avoid wandering during the best light.
2. Check Tides, Weather, and Wind
Coastal photography is shaped by nature. A low tide may reveal tide pools and leading lines, while a high tide may create powerful waves against sea walls. Check the tide chart, cloud cover, wind speed, and swell forecast. Safety comes first: never turn your back on rough surf, and avoid slippery rocks during storms.
3. Shoot During Golden Hour
The hour after sunrise and the hour before sunset often produce warm, directional light that flatters lighthouse exteriors. The low sun adds texture to stone, brick, and cliffs. If the lighthouse faces east, sunrise may be ideal; if it faces west, sunset might offer the strongest glow.
4. Use Blue Hour for Atmosphere
Blue hour, just before sunrise or after sunset, can be magical for lighthouse images. The sky becomes deep blue, artificial lights begin to glow, and the scene feels quiet and cinematic. Use a tripod and a slower shutter speed to capture the subtle balance between natural and artificial light.

5. Include a Strong Foreground
A lighthouse alone can look flat if it sits in the center of an empty frame. Add interest with rocks, dunes, flowers, driftwood, fences, shells, or tidal pools. A compelling foreground gives viewers a visual path into the image and makes the location feel more immersive.
6. Use Leading Lines
Paths, sea walls, railings, shorelines, and rock formations can guide the eye toward the lighthouse. Position yourself so these lines naturally point to the tower. This technique is especially effective when the lighthouse is small in the frame but still needs to remain the focal point.
7. Experiment With Long Exposures
Long exposures turn moving water into mist, streaks, or silky texture. Use a tripod, low ISO, narrow aperture, and, in bright conditions, a neutral density filter. A shutter speed of 1 to 5 seconds adds motion while preserving wave detail, while 30 seconds can create a dreamy, minimalist look.
8. Capture Crashing Waves
For energetic images, use a faster shutter speed such as 1/500 second or quicker to freeze spray and wave impact. Timing is everything: watch several wave cycles before pressing the shutter. The best moment is often just as the wave explodes against rocks or a breakwater.
9. Try Vertical and Horizontal Compositions
Lighthouses are naturally vertical, so portrait orientation often works well. However, horizontal frames can include more coastline, sky, and weather. Shoot both versions when possible, especially if you plan to use the images for prints, websites, or social media formats.
10. Pay Attention to Scale
A lighthouse may look more dramatic when you show how it relates to its surroundings. Include a person walking nearby, a boat in the distance, or cliffs below the tower. These elements help viewers understand the size of the structure and the vastness of the coast.

11. Use the Rule of Thirds
Place the lighthouse off-center to create a more balanced composition. Position it along the left or right third of the frame and allow the coastline or sky to fill the remaining space. This is a simple technique, but it often creates a more natural and polished image.
12. Break the Rules When It Works
Not every strong photograph follows classic composition rules. A perfectly centered lighthouse can feel powerful, symmetrical, and iconic, especially when paired with a straight path, reflection, or dramatic cloud formation. Use rules as tools, not restrictions.
13. Watch the Sky
The sky can make or break a lighthouse photo. Wispy clouds add elegance, storm clouds add drama, and clear skies can feel peaceful or empty depending on the scene. If the sky is dull, reduce the amount of it in your frame and focus on foreground texture instead.
14. Photograph in Bad Weather
Some of the most memorable coastal images happen when conditions are imperfect. Fog, rain, wind, and storm light can create atmosphere that sunny days cannot match. Protect your camera with a rain cover and carry microfiber cloths to wipe sea spray from your lens.
15. Use a Polarizing Filter
A circular polarizer can reduce glare on wet rocks and water, deepen blue skies, and increase color saturation. Rotate it slowly while looking through the viewfinder or screen. Be careful with ultra-wide lenses, as polarization may create uneven dark patches in the sky.
16. Bring the Right Lens
A wide-angle lens is useful for dramatic foregrounds and expansive coastlines. A telephoto lens helps compress distance, isolate the lighthouse, or capture ships and birds near the beacon. If you only bring one lens, a standard zoom such as 24–70mm or 24–105mm offers flexibility.
17. Focus on Details
Do not overlook smaller scenes. Photograph weathered doors, spiral stairs, lantern rooms, peeling paint, stone textures, signs, and windows. These detail shots help tell the story of the lighthouse and can be just as compelling as wide landscape views.
18. Include Wildlife and Human Activity
Seagulls, boats, fishermen, hikers, and keepers’ cottages add life to a composition. A bird crossing the sky near the tower can transform a static image into a moment. Be patient and wait for movement to enter the right part of the frame.
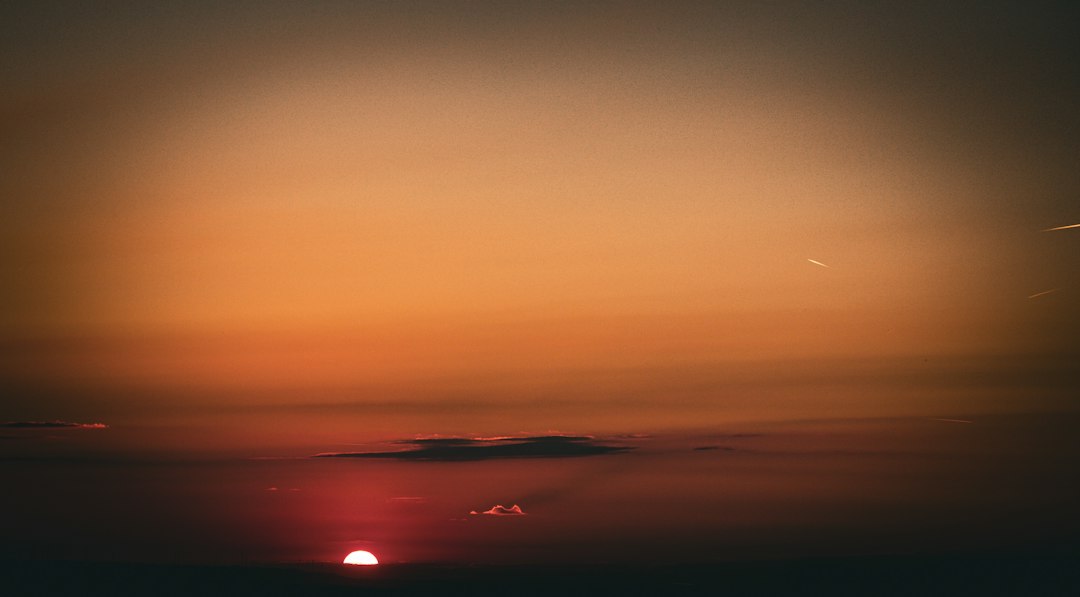
19. Edit With a Light Touch
Post-processing should enhance the mood without making the image look artificial. Adjust exposure, contrast, white balance, and sharpness, but avoid oversaturated skies or extreme clarity. Use local adjustments to brighten the lighthouse slightly if it needs emphasis.
20. Return to the Same Location
The best lighthouse photographs often come from repeated visits. A place that looks ordinary at noon may become extraordinary in fog, snow, sunset, or moonlight. Keep notes about angles, tide levels, and weather conditions so each visit becomes more productive.
Final Thoughts
Lighthouse photography is a blend of patience, planning, and creative observation. The strongest images rarely happen by accident; they come from understanding the coast, waiting for expressive light, and composing with intention. Pack carefully, stay safe near the water, and give yourself enough time to explore. When sea, sky, and structure come together, a lighthouse can become much more than a landmark—it can become the center of a truly stunning coastal story.