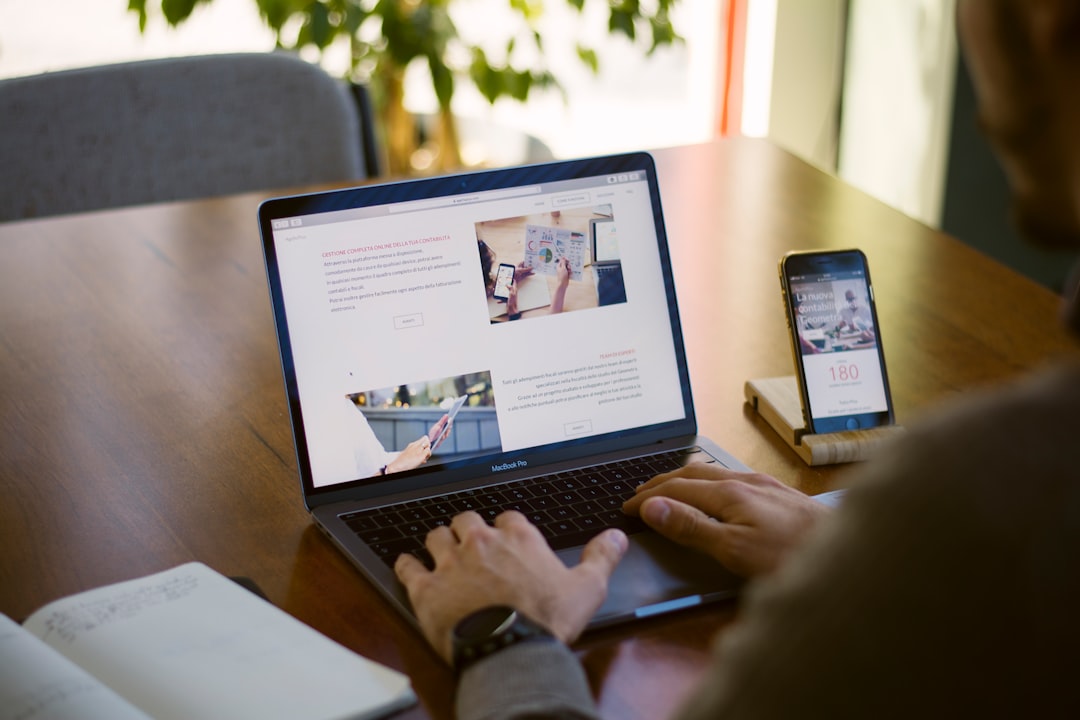
ScreenFlow Software for Mac: A Complete Guide to ScreenFlow for Mac, Screen Recording, Video Editing, Tutorials, and Content Creation
ScreenFlow is one of the easiest Mac apps for recording your screen, editing the video, and turning it into a clean tutorial or social clip. It is best for teachers, YouTubers, course makers, software trainers, and anyone who says, “I can explain this faster if I just show it.” You record, trim, add callouts, clean the audio, and export. All in one place.
TLDR: ScreenFlow for Mac is a screen recorder and video editor built for tutorials, demos, lessons, and content creation. For example, a coach can record a 12 minute walkthrough, cut out 3 minutes of mistakes, add arrows, and export a polished 9 minute lesson in under an hour. If you create 4 videos a week, saving even 20 minutes per video gives you over 5 hours back each month. It is simple, but still powerful enough for serious work.
What Is ScreenFlow for Mac?
ScreenFlow is a Mac only app made by Telestream. It records your screen, microphone, system audio, webcam, and connected devices. Then it lets you edit everything on a timeline.
That means you do not need one app to record and another app to edit. Nice. Fewer tabs. Fewer exports. Fewer angry snacks.
You can use ScreenFlow to make:
- Software tutorials for apps, websites, and tools.
- Online course videos with slides and voiceover.
- YouTube videos with screen capture and webcam.
- Product demos for customers or clients.
- Training videos for teams.
- Quick how to clips for support messages.
Why People Like ScreenFlow
ScreenFlow feels friendly. You press record. You do the thing. You stop. Your recording appears in the editor.
The timeline is clear. The tools are not buried too deep. You can cut mistakes, zoom into the screen, add text, and place arrows without feeling like you need a film degree.
Honestly, it feels like ScreenFlow was made for people who teach. Not just people who edit.
Best ScreenFlow Features
1. Screen Recording
This is the heart of ScreenFlow. You can record your full screen or part of the screen. You can also record more than one display.
You can capture:
- Your Mac screen.
- Your voice from a microphone.
- Computer audio.
- Your webcam.
- An iPhone or iPad screen, when connected.
This is great for app demos. It is also great for mobile tutorials. Want to show how an iPhone app works? Plug it in. Record it. Done.
2. Webcam Recording
You can place your face in the corner of the video. This helps your content feel more human. People like seeing the person behind the lesson.
You can resize the webcam bubble. You can move it. You can crop it. You can even add a shadow or border. Small touch. Big difference.
3. Simple Video Editing
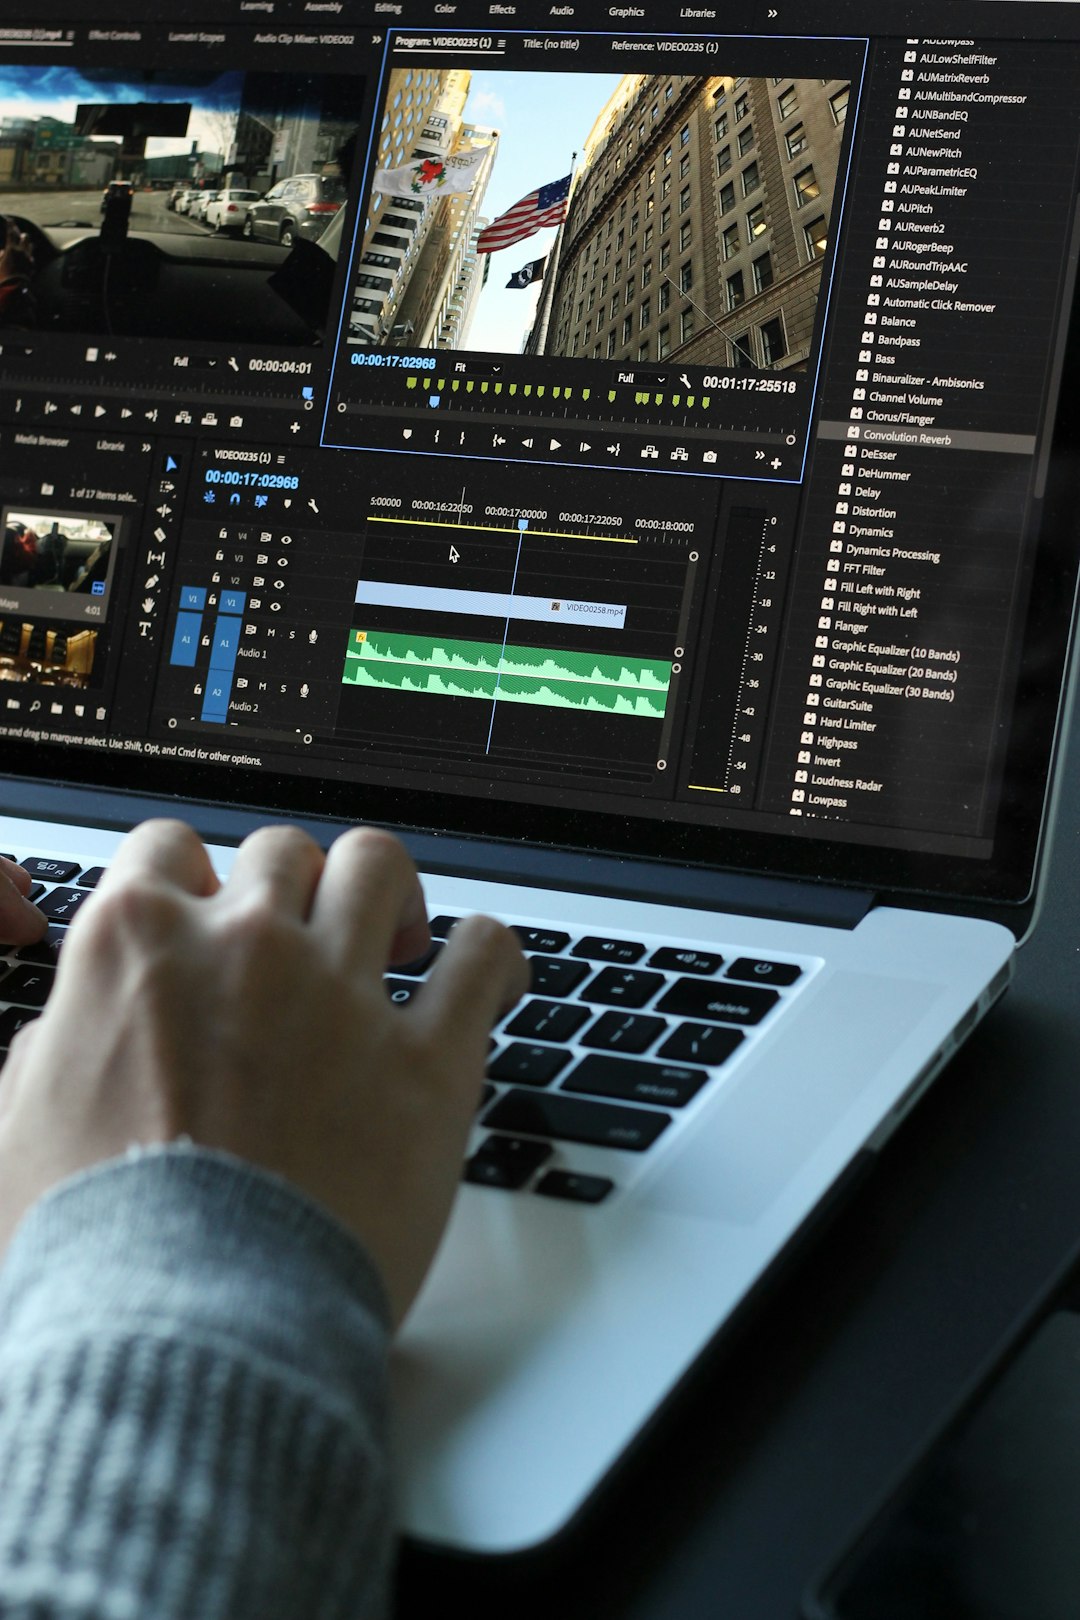
ScreenFlow has a timeline editor. You can cut clips, move clips, split clips, and delete awkward silences.
The best part is how fast basic edits feel. You do not need to fight the software. Most edits are drag, drop, trim, and play.
Common edits include:
- Cutting out mistakes.
- Trimming the start and end.
- Adding intro and outro clips.
- Putting text on screen.
- Adding background music.
- Adjusting volume.
4. Callouts and Zoom Effects
This is where ScreenFlow shines for tutorials.
You can highlight the mouse pointer. You can zoom into a button. You can darken the rest of the screen and focus on one area. You can add arrows and boxes.
This makes a tutorial much easier to follow. Viewers do not want to play “find the tiny button.” They want you to point at it.
5. Text, Titles, and Annotations
ScreenFlow lets you add text over your video. Use it for step names, reminders, chapter labels, or quick tips.
Keep text short. Big text works best. If your viewer has to pause to read a paragraph, the video is doing too much.
6. Audio Tools
Bad audio ruins good video. ScreenFlow gives you basic tools to fix volume, remove background noise, and smooth things out.
Use a decent microphone if you can. Even a small USB mic can make your video sound far better than a built in Mac mic.
How to Record a Video in ScreenFlow
Here is the simple version.
- Open ScreenFlow.
- Choose what you want to record.
- Select your microphone.
- Turn on webcam if needed.
- Press Record.
- Wait for the countdown.
- Teach, demo, or explain.
- Stop the recording.
- Edit the video on the timeline.
- Export it.
Before recording, close extra apps. Turn off notifications. Hide messy desktop files. Nobody needs to see “final final real final invoice v7.”
How to Edit Faster in ScreenFlow
Editing can eat your day if you let it. The goal is not perfection. The goal is clear video.
Try this workflow:
- First pass: Cut big mistakes.
- Second pass: Add zooms and callouts.
- Third pass: Fix audio levels.
- Final pass: Add title, export, and move on.
It drives me crazy when tiny timeline clicks take longer than the actual fix. Expect to spend a little time getting used to clip selection, especially if your project has many tracks. Once the shortcuts become familiar, editing feels much quicker.
ScreenFlow for Tutorials
ScreenFlow is perfect for tutorial videos because it helps people see each step.
A good tutorial needs:
- A clear goal.
- A short intro.
- Big visible actions.
- Zooms on small buttons.
- Clean audio.
- A quick recap.
Do not record a tutorial with no plan. That creates rambling. Write 5 to 7 bullet points first. Then record. Your video will feel sharper.
ScreenFlow for YouTube and Social Content
ScreenFlow works well for YouTube videos, product walkthroughs, and short educational clips.
You can record a browser, add your face, zoom in on key areas, and export in common video formats. For YouTube, 1080p is usually fine. If your screen has small text, 4K can help, but file sizes get bigger.
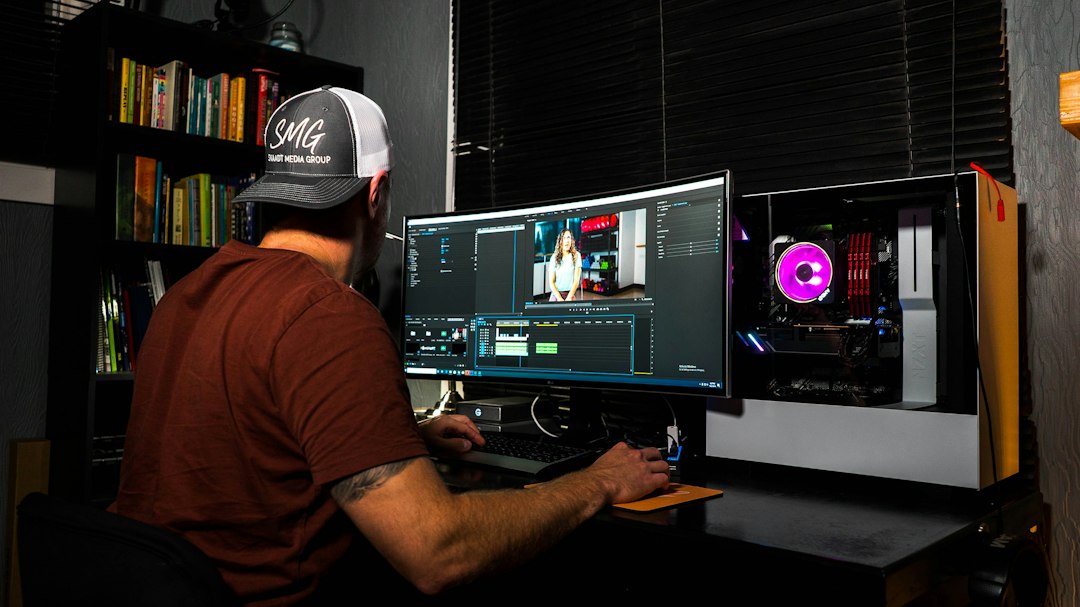
For short clips, keep things moving. Cut pauses. Add captions if needed. Start with the result first. People decide fast if they will keep watching.
Who Should Use ScreenFlow?
ScreenFlow is a great fit if you:
- Use a Mac.
- Create tutorials often.
- Teach software or online tools.
- Want recording and editing in one app.
- Prefer simple tools over huge editing suites.
It may not be ideal if you:
- Need Windows support.
- Want advanced movie color grading.
- Only need quick free screen captures.
- Make heavy animation projects.
ScreenFlow Tips for Better Videos
- Record in a quiet room. Fans and traffic sound louder on video.
- Use a script outline. Do not read every word. Just stay on track.
- Zoom often. Tiny menus are hard to see.
- Keep clips short. One idea per section works best.
- Name your files clearly. Future you will be grateful.
- Export a short test. Check audio before exporting a long video.
Is ScreenFlow Worth It?
For regular creators, yes. ScreenFlow saves time because it combines recording, editing, callouts, and export tools in one Mac app.
If you make one video per year, it may be more than you need. If you make tutorials every week, it can pay for itself in saved hours and fewer headaches.
The price can change, so check the official ScreenFlow site before buying. Also check what version you need and whether upgrades are included.
Final Take
ScreenFlow for Mac is a smart pick for screen recording, video editing, tutorials, and content creation. It is simple enough for beginners. It is polished enough for pros who need clean training videos fast.
If your work involves explaining things on a screen, ScreenFlow makes that job easier. Record the screen. Fix the messy parts. Add helpful zooms. Export. Share. Then go enjoy not editing until midnight.